
 Despite years of being exposed to the elements, possibly for decades, and lucked up in a rusty barn for even longer, a surprisingly large number of classic cars will still bear the badges and emblems that they proudly bore when the vehicle was at its prime.
Because of their history, these badges and emblems deserve to be brought up to premier condition as a critical part of the restoration process.
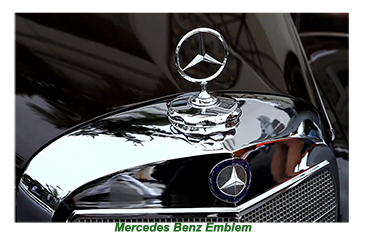
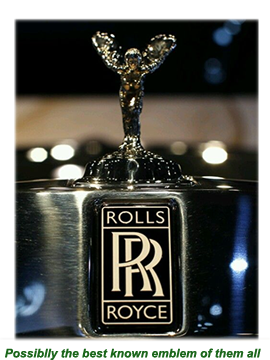 Vehicle badges usually display the manufacturer’s emblem as well as the particular model title. The manufacturer’s logo, especially in earlier models, can be found firmly attached to the grille or embedded in the chrome trim at its top.
Disassembling an emblem can be a challenge as it will likely have been welded in position.
If it is a later model whose radiator is enclosed in a loose shell, the emblem will probably be fixed to the grille with studs and nuts. Pegs attach emblems mounted on the car body on their back.
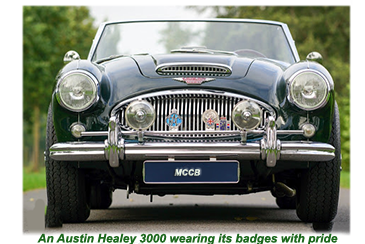
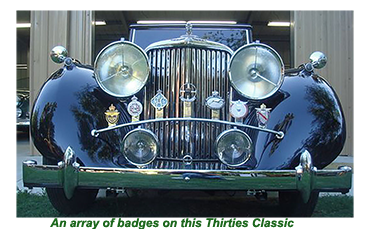 Model emblems will be attached to the wings, while other tags, such as badges denoting membership to the AA or RAC or specific owners’ clubs, will usually be found either attached to the radiator or a chrome crossbar in front of it.
![]()
Most badges and emblems are enamel based and can be readily re-enamelled at a price that will make only a minor dent in the budget.
Those where the enamel is past saving can be re-cut – an altogether more expensive exercise.
 The easiest and not eye-wateringly expensive option is to pick up what is known as NOS emblems (New Original Stock).
These stock emblems are readily available online and can be delivered within days.
Those who are sticklers for authenticity and have the time and patience can save money by painting the original emblems, a task that can be thoroughly satisfying.
 Before any painting can get underway, the emblem must be thoroughly cleaned and all of its chipped or scratched areas scraped down to the bare, smooth metal with the help of a small knife.
After removing the old paint, the emblem should be thoroughly cleaned with paint thinner and wiped thoroughly with a clean cloth and left to dry completely.
After a final wash with soap and hot water, the emblem will be ready for paint.
Most vintage cast emblems feature a subtle level of embossment whose paint- depressions need to be hand-painted in the relevant company livery.
Because of the tight areas being worked, spry painting is out of the question, with restorers in the know using a very clever piece of equipment known as a flow pencil to do the job.
![]()
The tip of the flow pencil is placed in a starting point in the emblem, at which point the trigger is released to open the needle and seat, allowing the paint to start to flow.
From then on, the pencil is pulled along a particular section area to be painted, leaving a droplet of paint in its path, devoid of brush lines or “start-stop” marks.
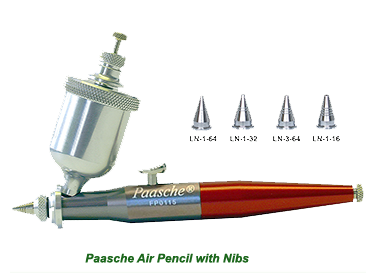 Flow pencils come with a choice of four tips, with the width of the tip selected matching the width of the line to be painted.
Plenty of cloth or paper towels, as well as some paint thinners, must be on hand as the tip has to be wiped clean after each pass.
 Every line will have its own colour, and supplies of paint of each colour must be on hand and in sufficient quantities.
 Before launching into the first emblem painting job in real-time, it is well advised to find a discarded emblem or two and take some practice.
If all goes well, the refurbished emblems will soon be re- attached to the restored classic, playing its part in returning the car to its original glory and prestige.


ex5